MIL-DTL-17896E
more than 5 �F (2.7 �C). The change of indication from the indication at room temperature shall
not be greater than 0.04 inch.
4.6.4 High-impact shock test. The barometer shall be shock tested to meet the high-
impact grade B shock requirements in accordance with MIL-STD-901.
4.6.5 Vibration. The sample shall be subjected to the tests specified in 4.6.5.1 through
4.6.5.4. The barometer shall be clamped in a vertical or horizontal normal mounting position on
a vibrating table that can be controlled within 10 percent of the specified frequencies and
amplitudes. The vibration table shall be designed to provide approximately sinusoidal vibration
at all specified frequencies and amplitudes.
4.6.5.1 Direction of vibrations. The barometers shall be vibrated successively over the
specified ranges of applied frequencies in three mutually perpendicular directions. Two
directions of vibration shall lie in the plane of the barometer.
4.6.5.2 Rate of change of vibration frequencies. The frequency of applied vibration shall
be varied uniformly at a rate of approximately 1 hertz (Hz) per minute.
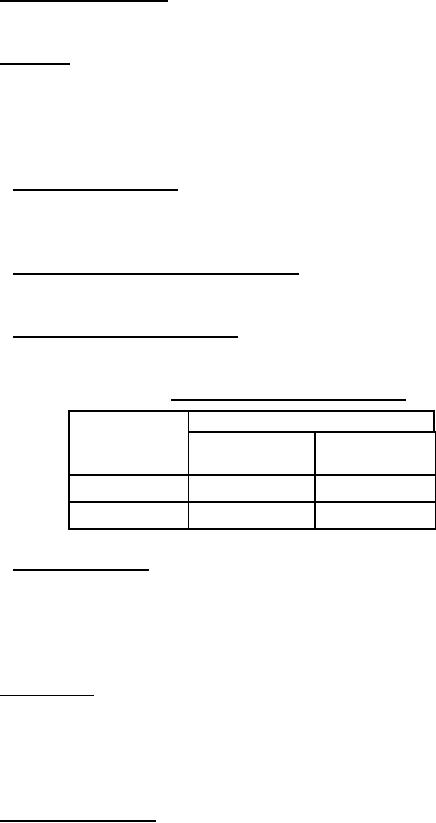
4.6.5.3 Amplitude of applied vibration. The amplitude (1/2 total excursion) of the
vibration table shall be in accordance with table III.
Table III. Amplitude-frequency conditions.
Frequency
Amplitude
of vibration
Horizontal
Vertical
(Hz)
(inch/mm)
(inch/mm)
2 to 10
0.060/1.524
0.060/1.524
10 to 33
0.030/0.762
0.030/0.762
4.6.5.4 Ninety-minute test. The equipment shall be vibrated for at least 30 minutes in
each of three directions specified in 4.6.5.1 for a total of at least 90 minutes. The range of the
applied frequencies shall be from 2 through 33 Hz. Shock mounts shall not be blocked or
removed. After this test is completed, the barometers shall again be subjected, without resetting,
to the tests specified in 4.6.7 through 4.6.10.
4.6.6 Salt fog tests. At least two sample aneroid barometers shall be subjected to the salt
fog tests of MIL-STD-810. The external and internal structure of the barometers shall be
examined to determine evidence of corrosion and for evidence of material that, if attacked by
fungi, may lead to instrument failure under service conditions. The barometers shall then be
tested in accordance with 4.6.7 through 4.6.10.
4.6.7 Rotation of barometer. The barometer shall be rotated successively into positions
45 degrees forward and 45 degrees backward from vertical and 45 degrees left and 45 degrees right
from vertical and the indication read in each position. The difference in indication in any of these
positions shall be not greater than 0.04 inch from the indication when the instrument is vertical.
9
For Parts Inquires call Parts Hangar, Inc (727) 493-0744
© Copyright 2015 Integrated Publishing, Inc.
A Service Disabled Veteran Owned Small Business